Tête Binaural
Cette version date du 2018/10/09 08:14.
Comment construire une tête binaural avec des matériaux simples et des oreilles imprimées en 3D.
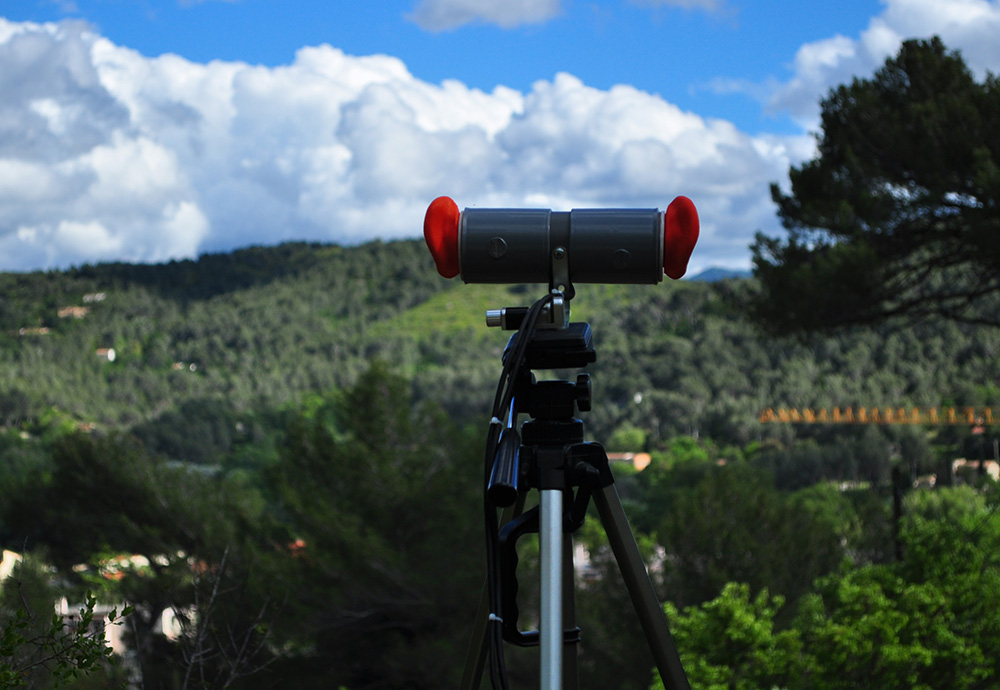
Cette tête binaural est construite avec des tubes de PVC pour le cadre, des oreilles imprimées en 3D et deux microphone électret haute qualité PRIMO EM172 (il est possible d'utiliser le EM272).
Elle est conçu pour être utilisée avec une carte son capable de faire une balance stéréo et avec une alimentation fantôme +48v.
Un circuit imprimé est dédié à l'alimentation du microphone.
Les dimensions données pour les tubes de PVC sont disponible en Europe et il faut un cable de microphone de 8mm. Vous pouvez les adapter à vos besoins.
Assemblage de la tête:
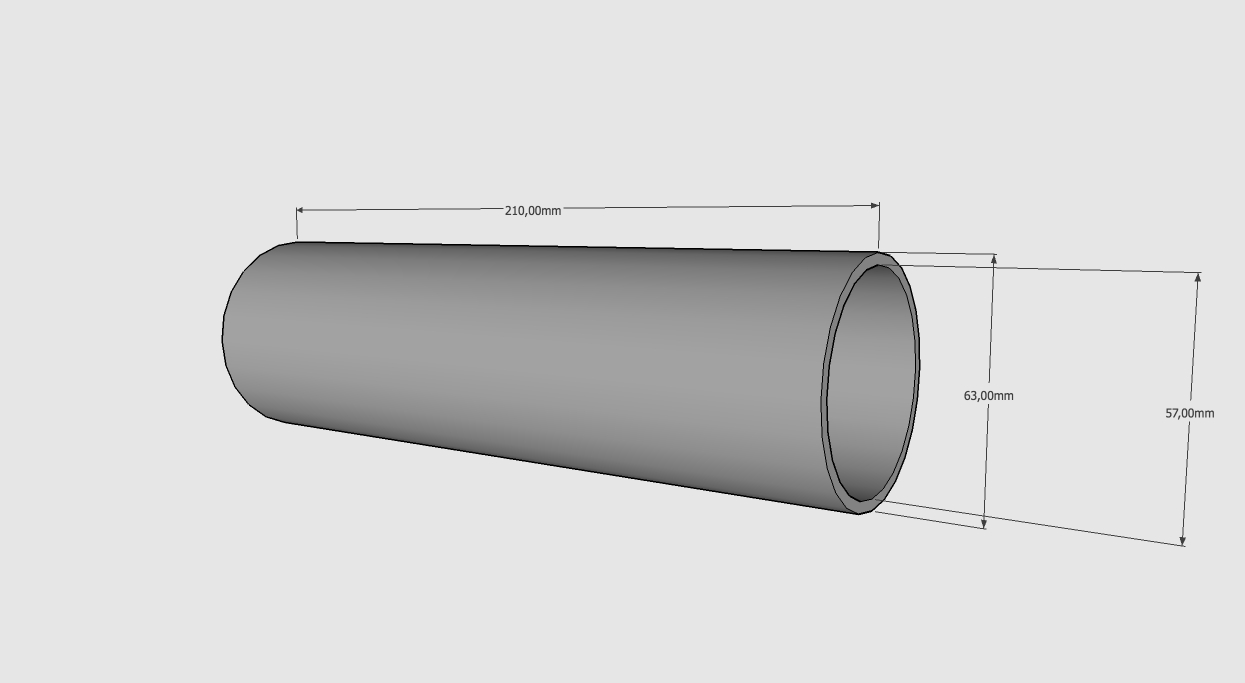
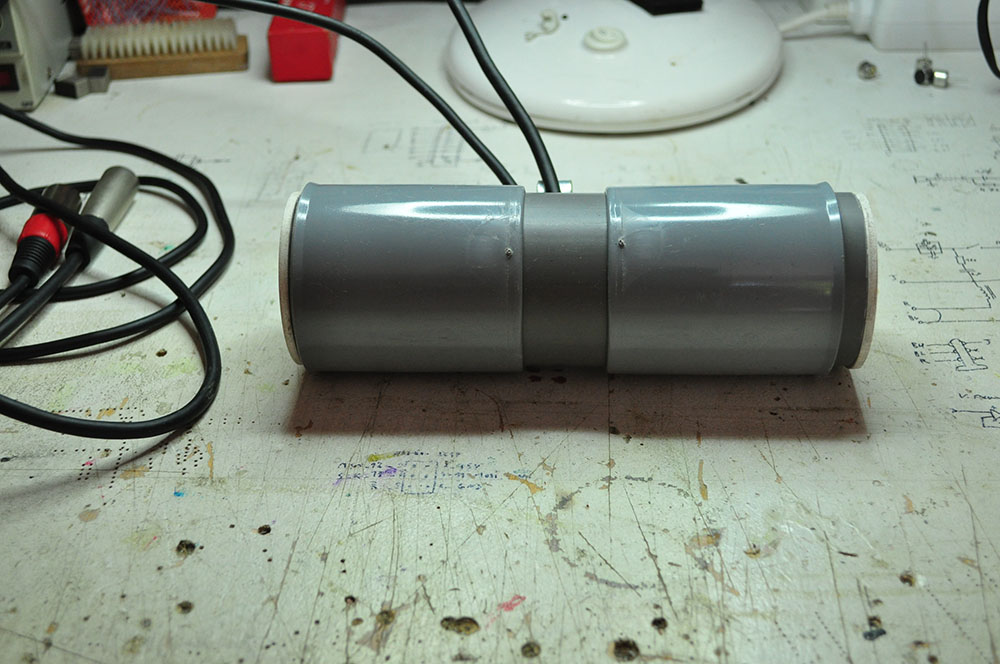
Premièrement, il vous faut une pièce de PVC de 21 cm de longueur et de 6,3 cm de diamètre.
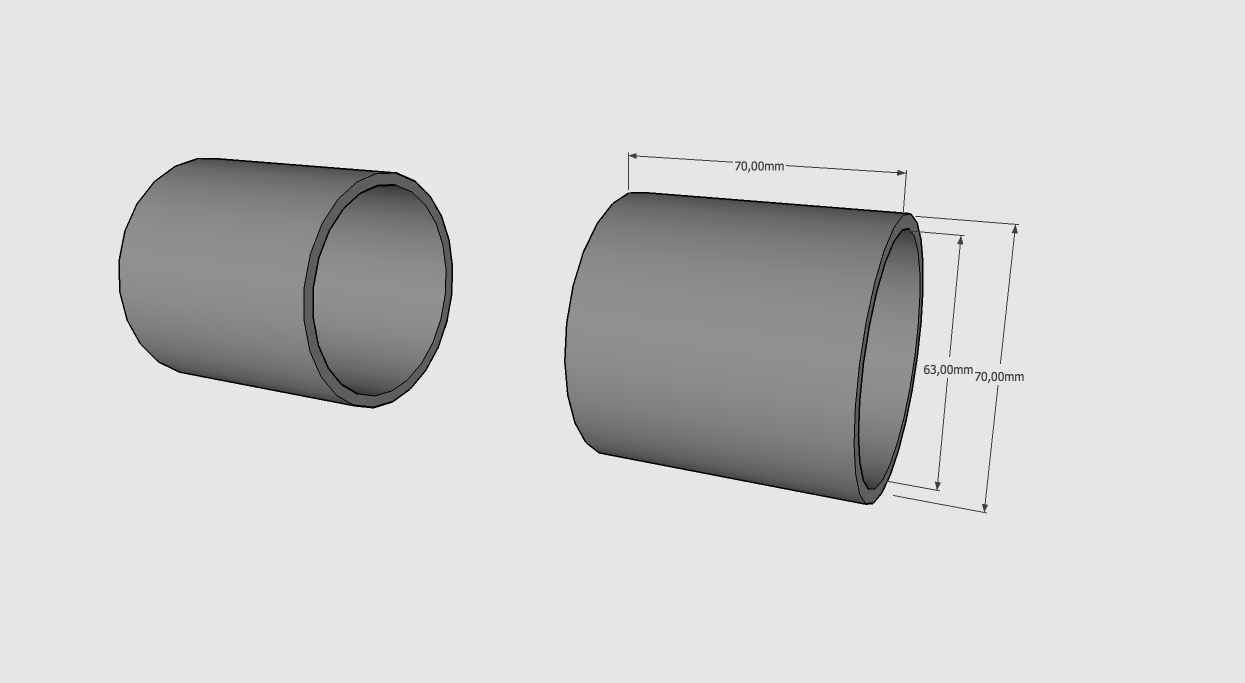
Vous aurez aussi besoin de deux tubes pour les extensions, de 7 cm de longueur et 6,3 cm de diamètre.
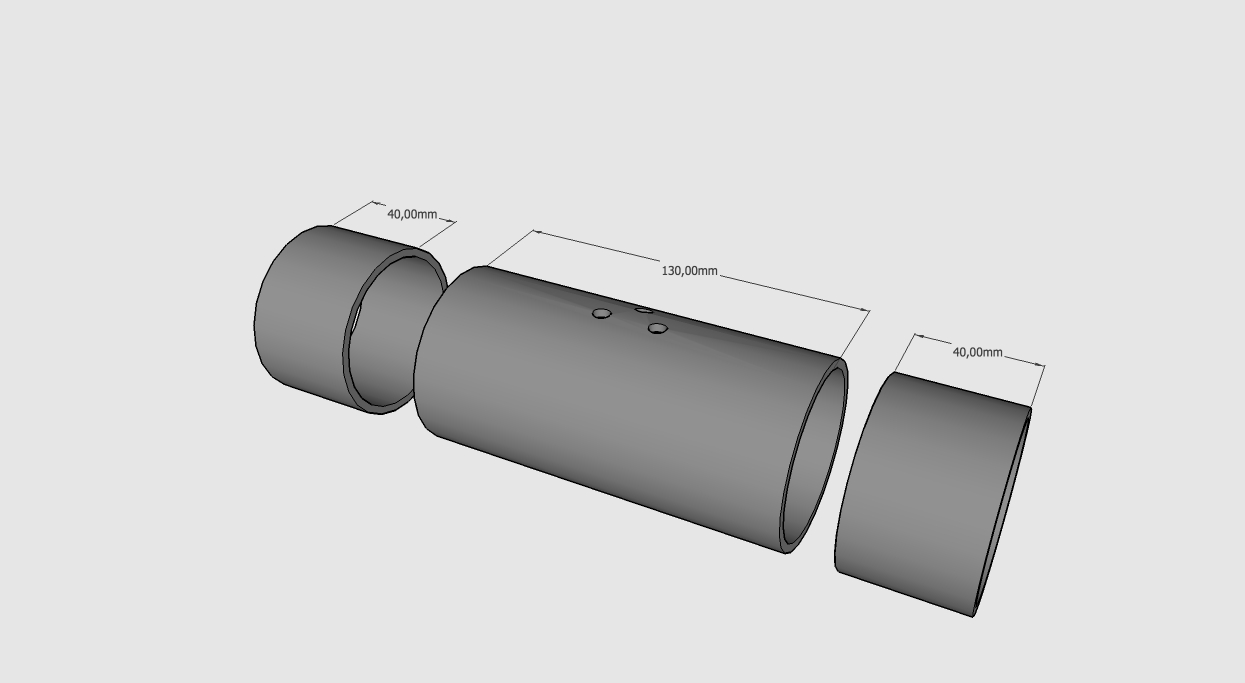
Couper le tube de PVC de 21 cm de long en deux morceaux de 4 cm et un de 13 cm de long.
Dans celui de 13 cm, perçez, en triangle, trois trous de 8 mm de diamètre.
In the 13cm piece, drill 3 8mm holes in a triangle shape. The outer one are for the cables, the center one is for support.
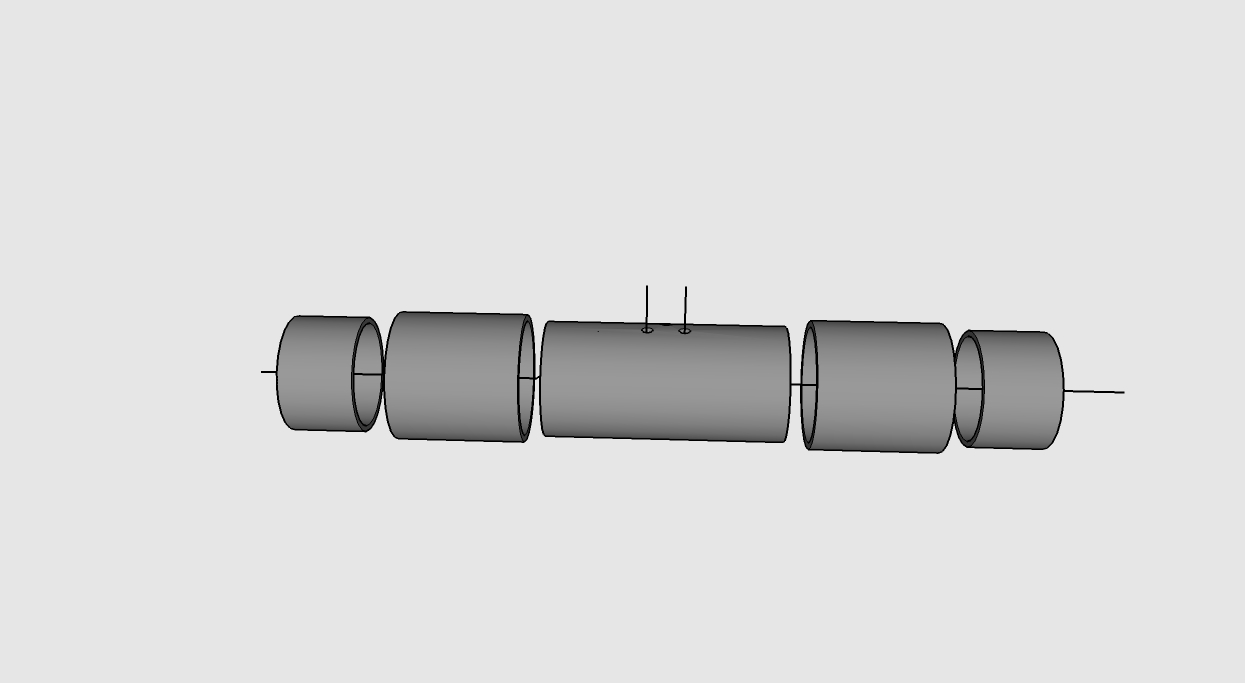
Assemble as showned. Using mono shielded microphone cable, put the cable through the holes and the pipe assembly.
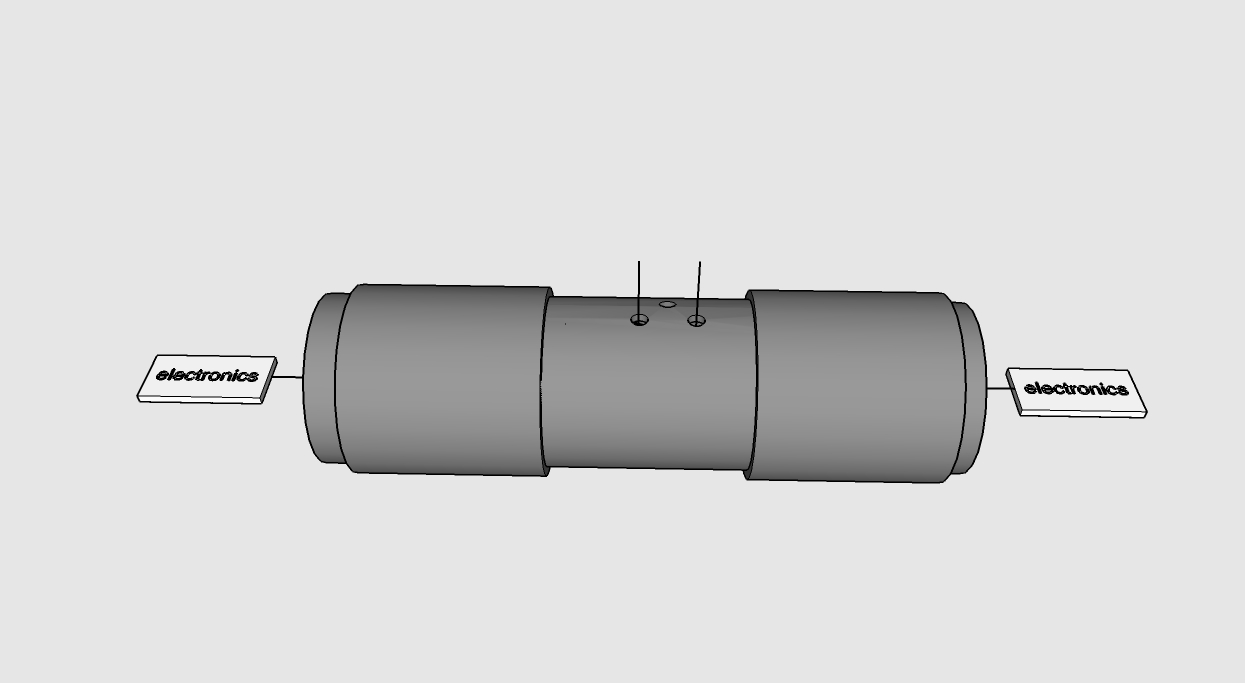
Solder the circuitry required to power the electret microphones.
You can find extended informations on the Electret Microphone page.
Solder the electret microphones. We recommand the Primo EM172 microphones, witch provide great quality and low noise.
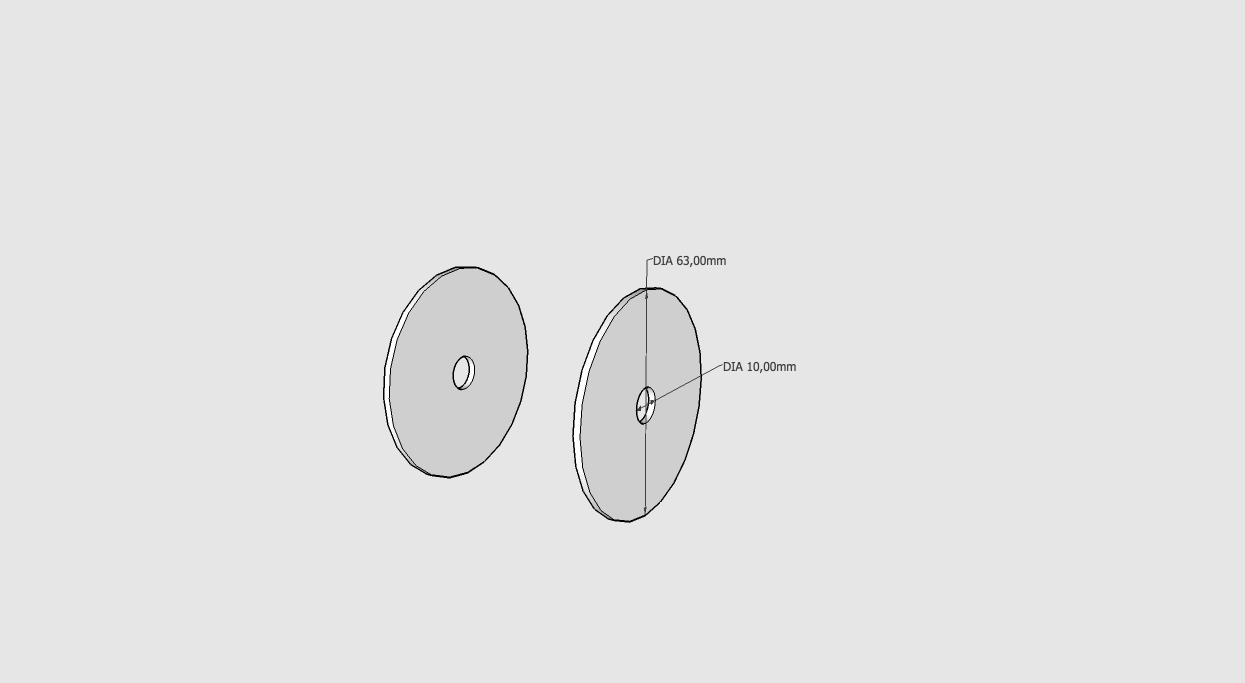
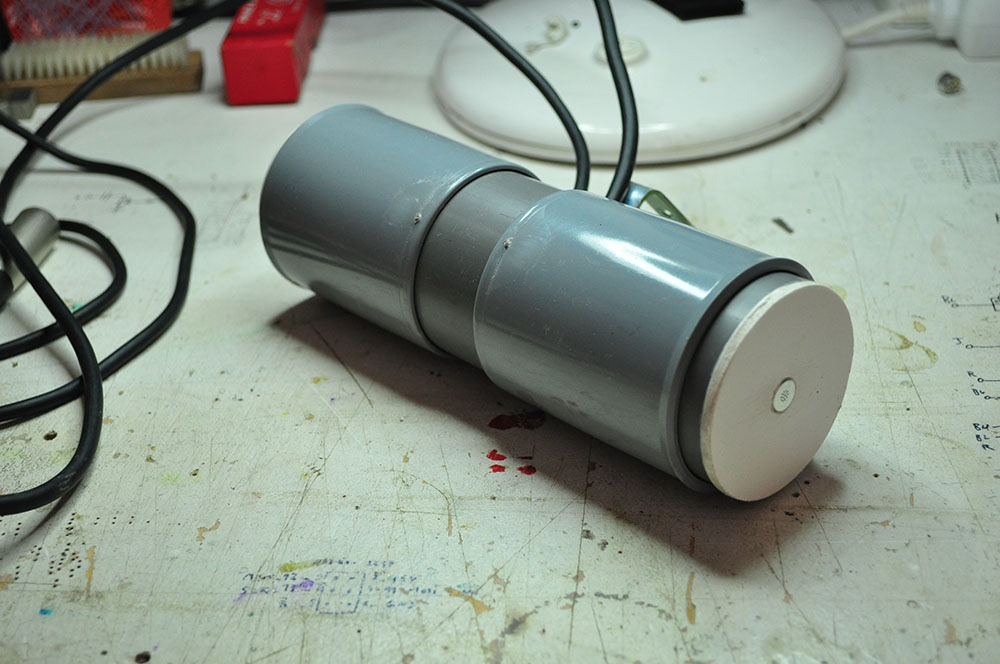
Out of wood or plastic, make a 63mm circle with a 10mm hole in the center. It will be the ear support. Thi part is not needed if you print ear with embeded round support.
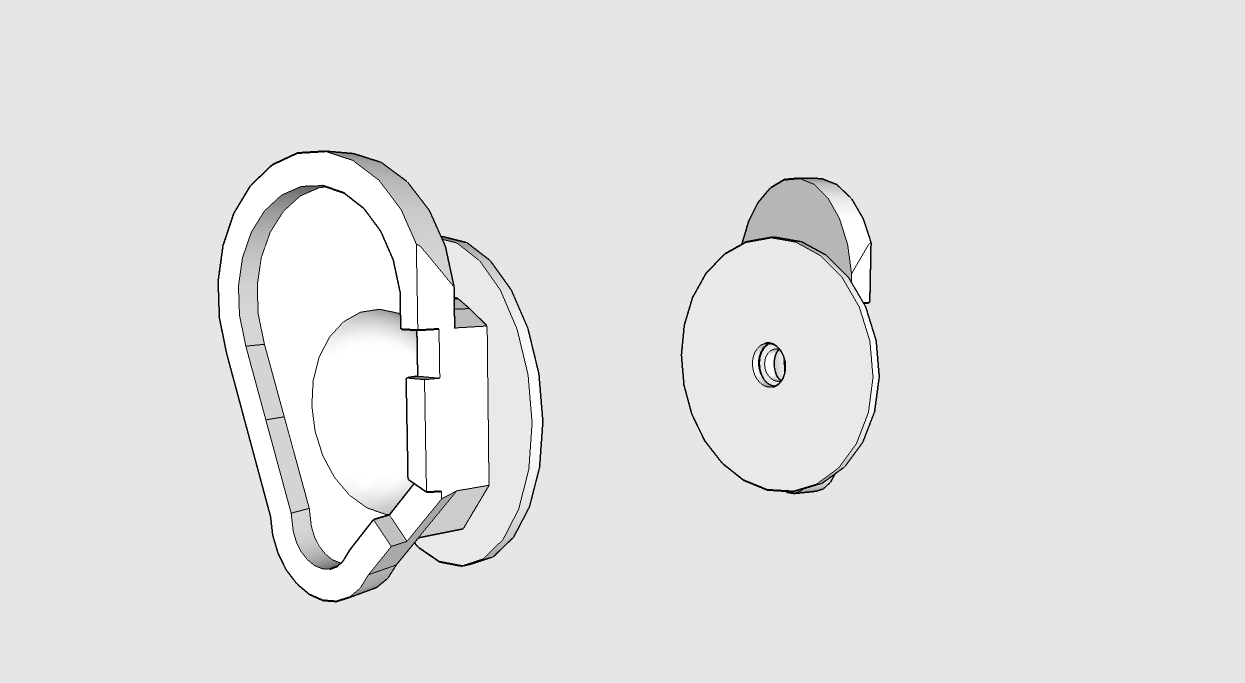
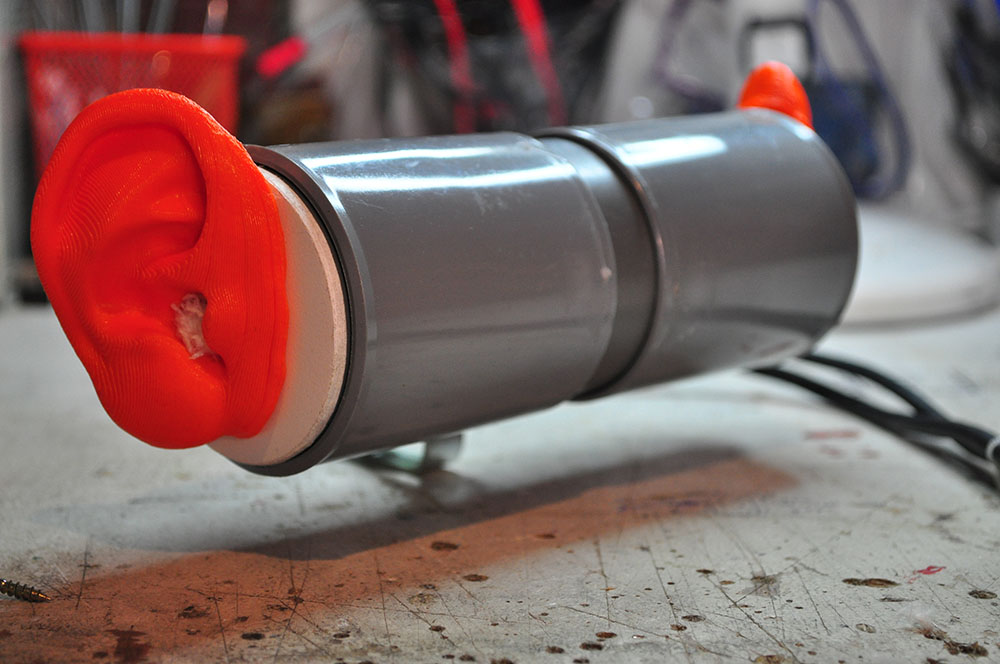
Glue the ears to the supports. You can pick one of our proposed ear, download one from the internet or scan you own. A purchased silicon ear can do as well.
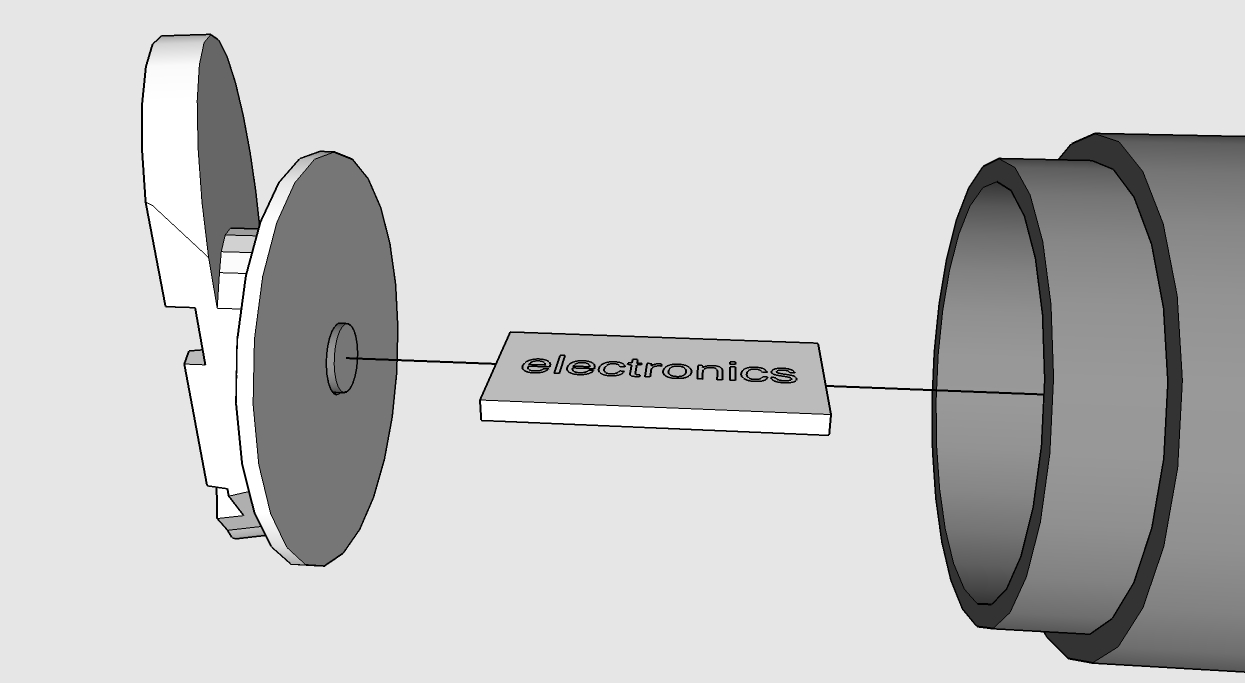
Fit the microphones in the 10mm holes in the support plate.
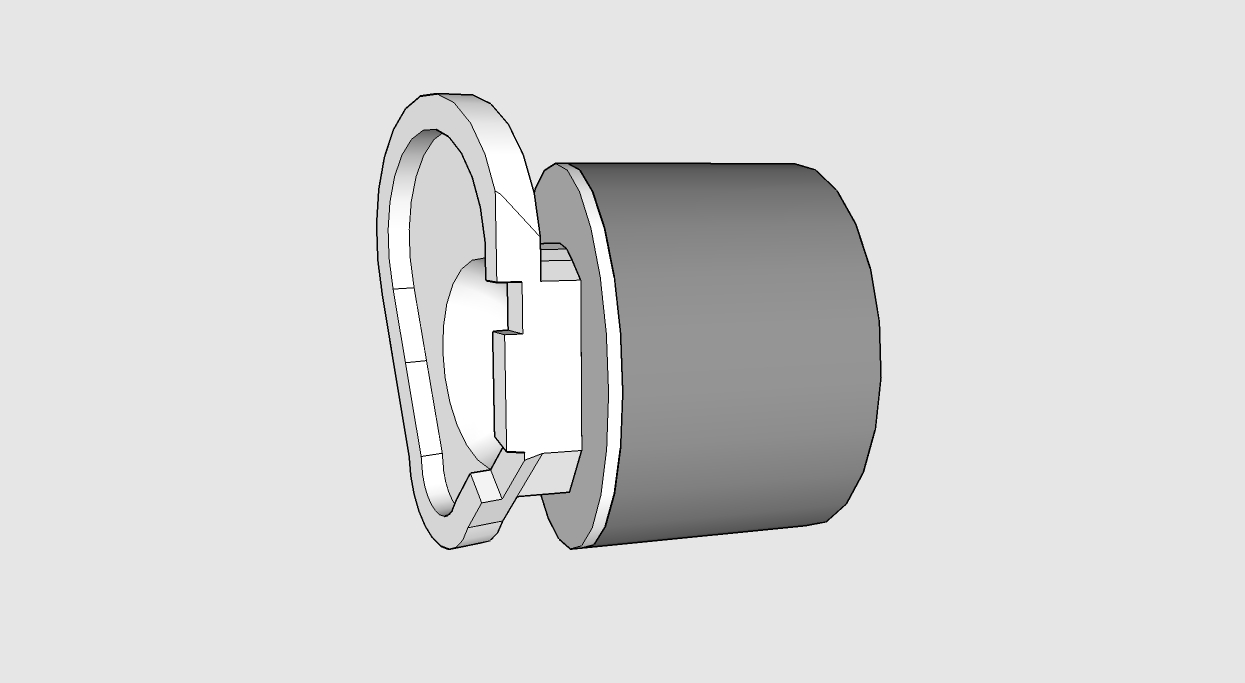
Glue the ear assembly to the 4cm PVC pipe. It will fit in the extender and allow tilt adjustemnt of the ear and width adjustement of the head.
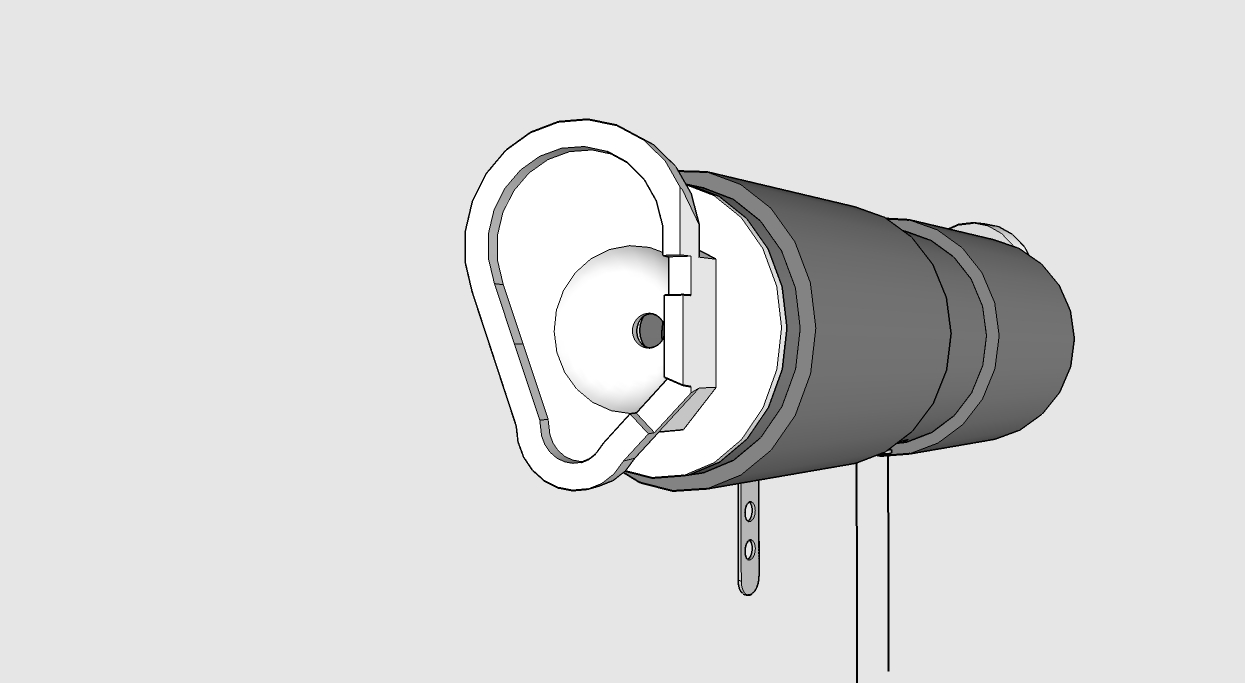
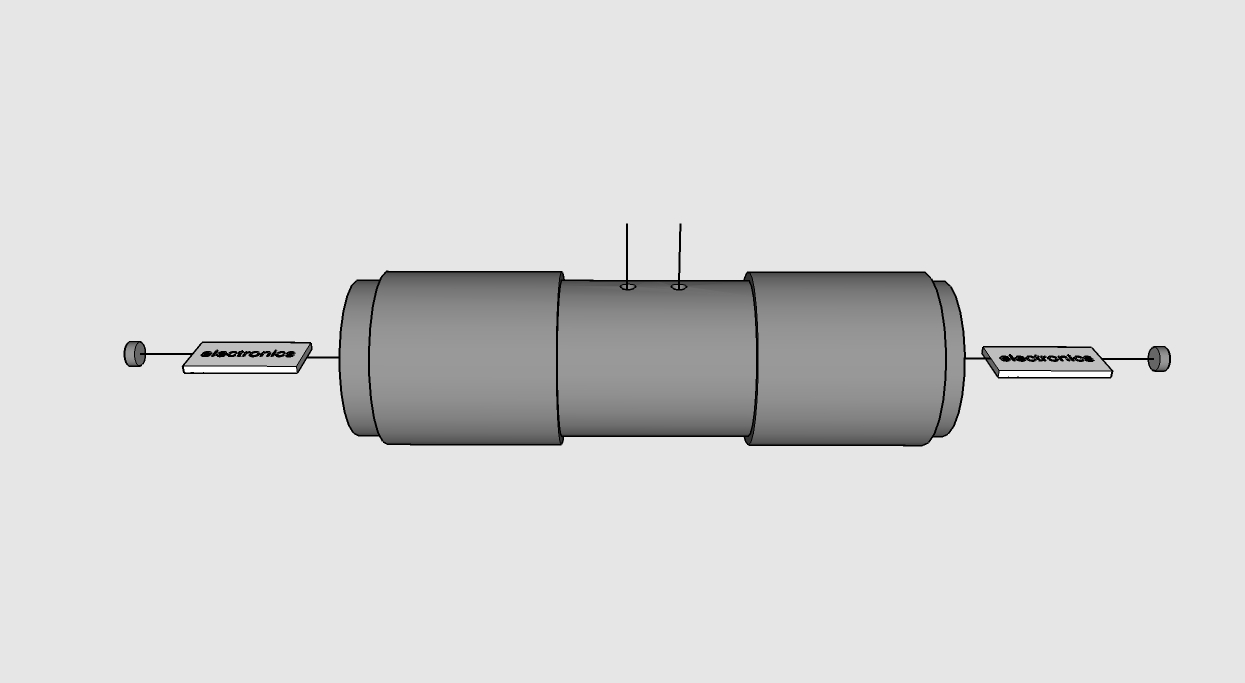
And assemble the all thing by fitting the pipes into one another. It is recommanded to hot glue the electronic inside the pipe
You can une a L shape piece of metal to provide a stand, we recommand to bolt it from the inside. Then it can be screwed to a microphone or microphone stand using the correct bolt.
Fit XLR male plug at the other end of each cables. You will need to remember what you did on the circuit side to know whitch one is hot, cold or ground.
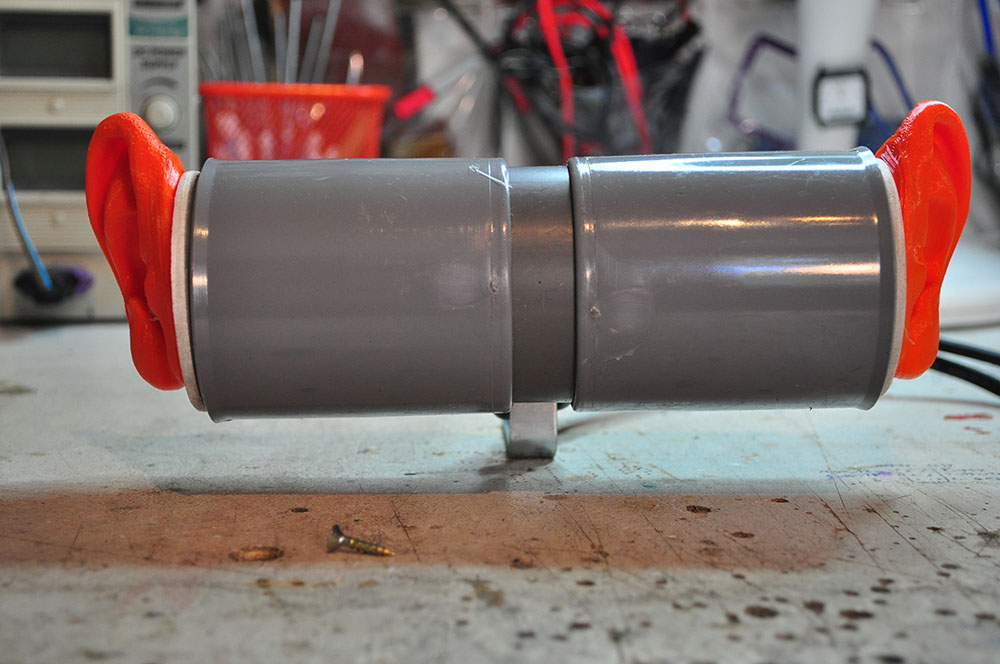
A human head is roughly 20cm in width, but it's round. Because of its roundness, the sound take more time to goes around when coming from one side to another. With a 90° angle it takes around 730 micro seconds. Our PVC head is just a pipe,and we need to adjust for that by having it a bit wider than a human head. Calculation gives a distance of around 25cm for the sound to go from one ear to the other in 730 microseconds:
34300cm/s*0,00073s=25.0cm
Therefor, a 25cm width PVC head is recommended.
The PVC head is adjustable in width, so you can choose to use the regular 20cm width or the 25 adjusted for flatness width as you like.
A similar head live stream can be listen to at this adress.
Grégoire Lauvin. 2018
dernière modification: 2023/10/25 11:56